Simple Tricks For Fixing Worn Spots on Kitchen Cabinets
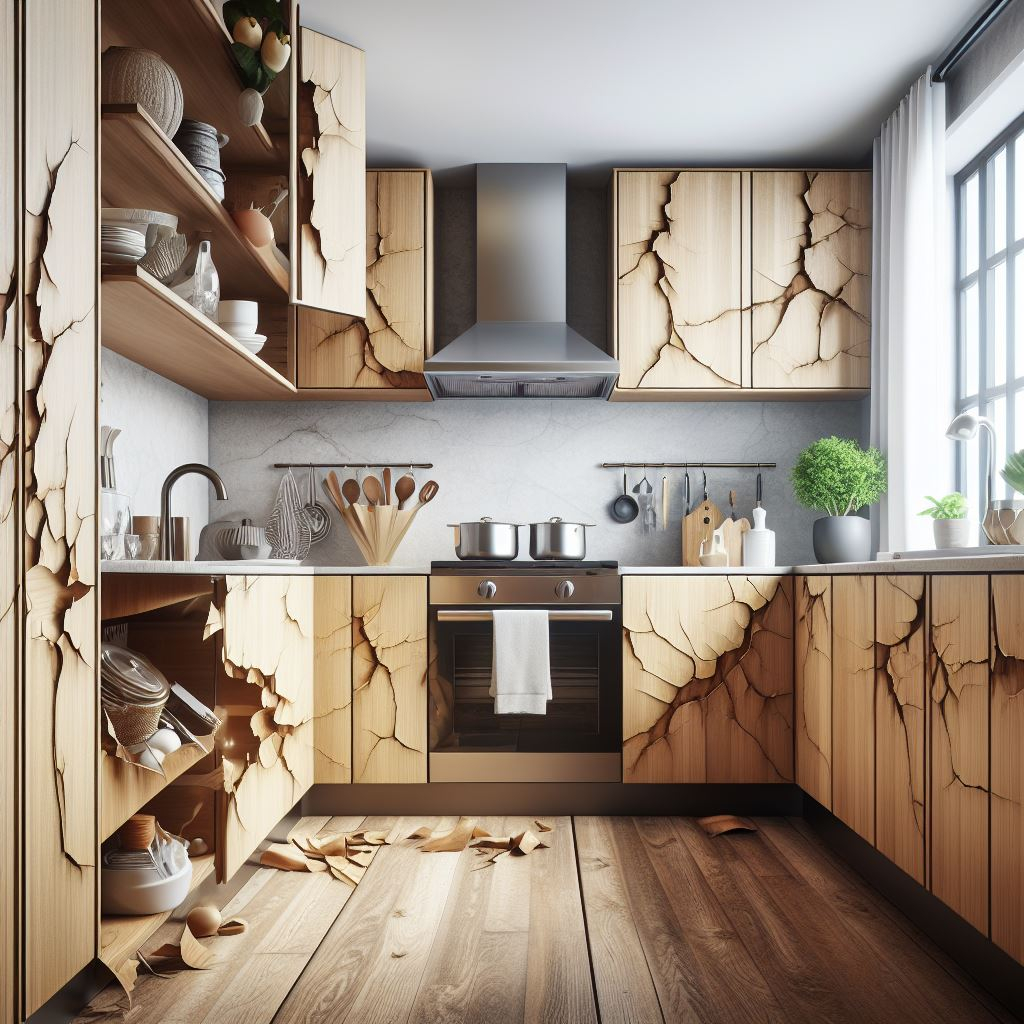
Kitchen cabinets endure a lot of wear and tear. From water splatters and greasy finger smudges to bumps, nicks, and scratches, it’s no wonder these high-traffic surfaces start looking lackluster over time. While completely replacing tired kitchen cabinets can be costly, with a few simple DIY tricks, you can restore worn cabinets to look fresh and new again.
In this article, we’ll explore common fixes for worn kitchen cabinet surfaces. From a thorough cleaning to touch-up painting, refinishing, and more, we’ll cover easy, affordable ways to rehab spots, scratches, and other unsightly blemishes on your cabinets.
Assessing Cabinet Wear and Damage
Before deciding on the best remedy, take time to carefully inspect each cabinet inside and out. Make note of any scratched, chipped, or peeled areas. Check if damage is merely surface level, like faded or scratched paint, or deeper imperfections down to the bare wood.
Also pay close attention to typical high-wear zones like cabinet edges, corners, knobs and handles. Areas near the stove or sink prone to water splashes also often show more wear over time.
Common Areas Prone to Wear
Edges and corners are vulnerable spots that easily get bumped and show nicks. High moisture zones around sinks see water stains or peeling lamination. Drawer pulls and knobs exhibit rubbed paint from repeated handling.
Cleaning Cabinets Prior to Repairs
Before repairing any worn areas, it’s essential to thoroughly clean cabinet surfaces using a degreasing cleaner. Built-up grime not only looks bad but can obscure full damage. A good scrubbing reveals the true extent of any scratches, stains or peeled spots needing attention.
Use a soft microfiber cloth and gentle circular motions when cleaning to avoid inflicting any additional scratches. Make sure to rinse cabinets thoroughly after applying degreaser. Let surfaces dry completely before attempting paint touch-ups or refinishing.
Cleaning Tips
Work top to bottom when cleaning cabinets to avoid drips streaking lower surfaces. Rinse repeatedly to eliminate all degreaser residue that could interfere with paint adhesion. Give cabinets ample time to dry before taking any next steps.
Fixing Minor Cabinet Wear and Tears
Often, worn kitchen cabinets just have some light surface damage like small scratches or paint chips. For minor flaws, a thorough cleaning followed by a targeted touch-up paint application can work wonders.
Use a small artist’s brush to precisely fill in any scratches or lightly worn areas. Opt for a matching paint in the original shade and sheen for the most seamless results. With deft touch-ups, you can make scratched or chipped cabinets look brand new.
Matching Paint Finish
To color match, use any leftover paint from the original job or bring a door sample to the paint store. Be sure to match the sheen – matte, satin, semi-gloss – in addition to color for an invisible repair.
Refinishing Badly Worn Cabinets
For extensive wear and damage throughout a cabinet, simple touch-ups won’t suffice. In cases of deep scratches, gouges, and excessive paint wear, refinishing is the best solution. This involves stripping cabinets down to bare wood before applying fresh stain or paint.
While labor-intensive, refinishing kitchen cabinets yields a like-new, showroom-quality result. Damaged doors should be removed during the process for the easiest access.
Refinishing Process
To refinish, remove doors, drawers, and hardware. Use chemical stripper or sanders to remove existing paint/stain. Once stripped to raw wood, apply desired stain, paint, or clear protective coat. Allow proper dry time between steps.
Refacing Damaged Cabinets
For cabinets with moderate wear, refacing offers another solution besides refinishing. This involves adhering to new veneer or thermofoil surfacing right over the existing cabinet boxes and doors.
Refacing provides an affordable facelift, covering worn spots, dings, and damage without fully replacing old cabinets. Hiring a professional is recommended for optimum results.
Refacing Tips
Refacing can extend the life of cabinets another 10-15 years. For extra pop, replace dated hardware with modern brushed nickel or matte black pulls and knobs.
Replacing Cabinet Hardware
Over time, cabinet hardware can also look worn and dated. Replacing knobs, pulls, and hinges is an easy upgrade that can give a fresh new look to tired cabinets.
Look for suitable sizes and finishes to coordinate with your kitchen’s existing style. Currently, brass and matte black are popular options that pair well with most color schemes.
Measure your existing hardware prior to buying replacements. Fill any old screw holes for a smooth installation. Opt for matching handles throughout for a cohesive, streamlined look.
With some clever DIY solutions, you can restore worn cabinets to look updated and attractive again. After a deep clean, minor touch-ups or refinishing can rejuvenate problem spots and scratches.
Refacing or replacing dated hardware are other options for affordably improving kitchen cabinets. With a little time and elbow grease, you can avoid pricey cabinet replacement and keep your kitchen looking its best.