How to Transition Flooring Flawlessly from Kitchen to Family Room
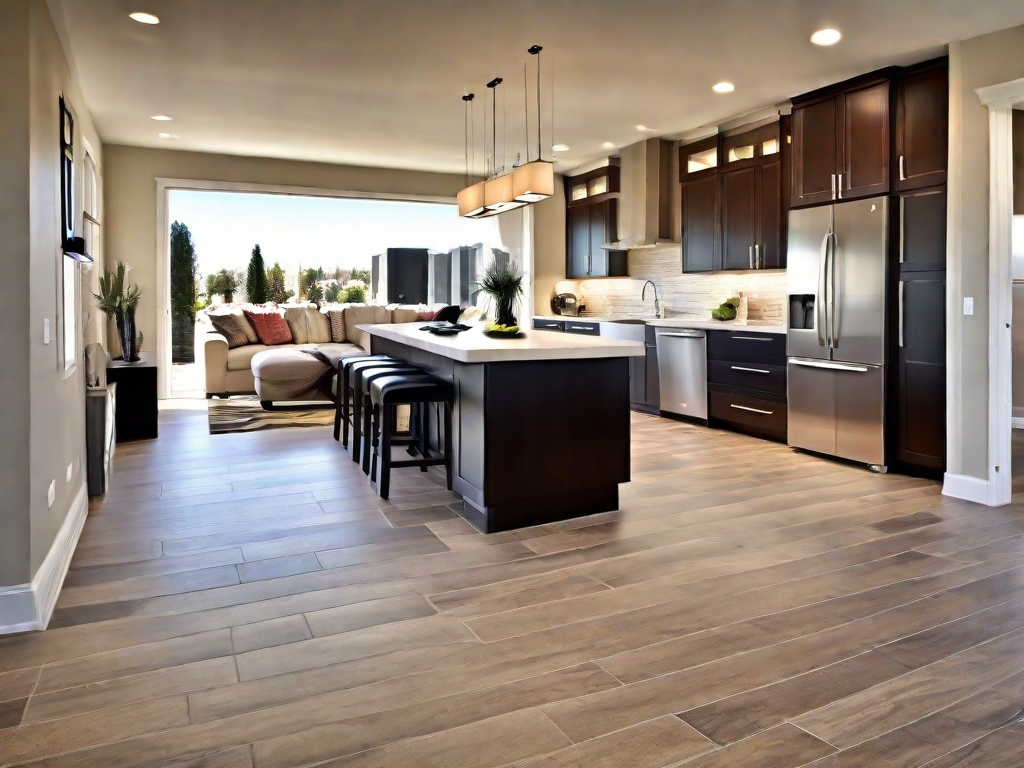
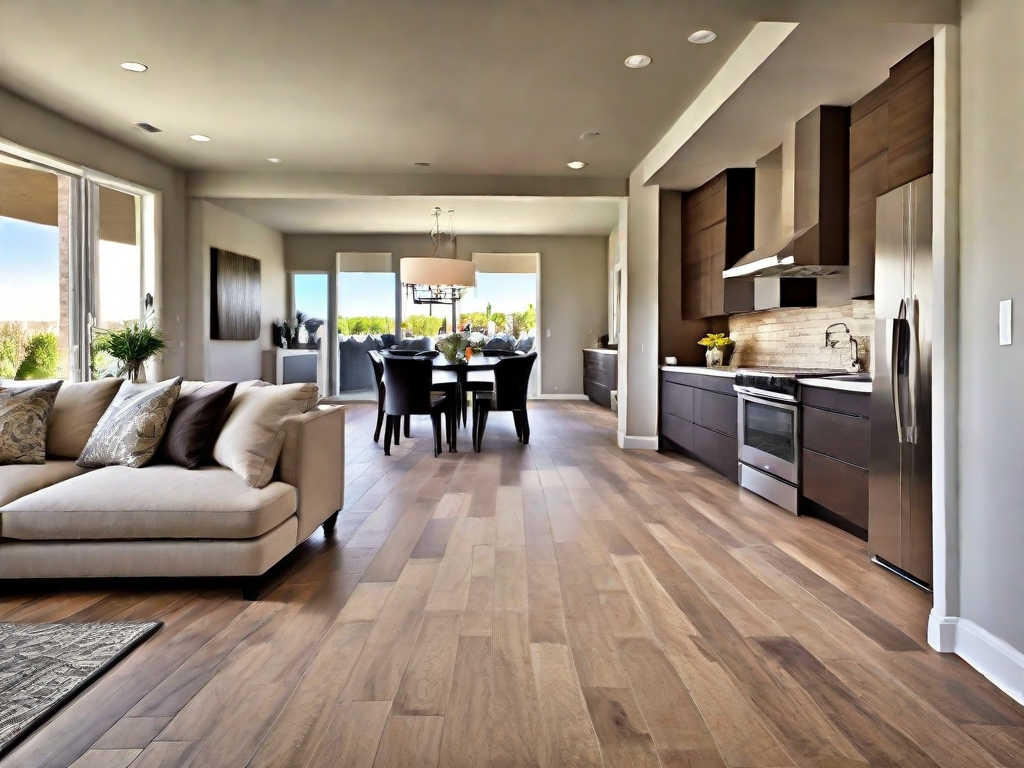
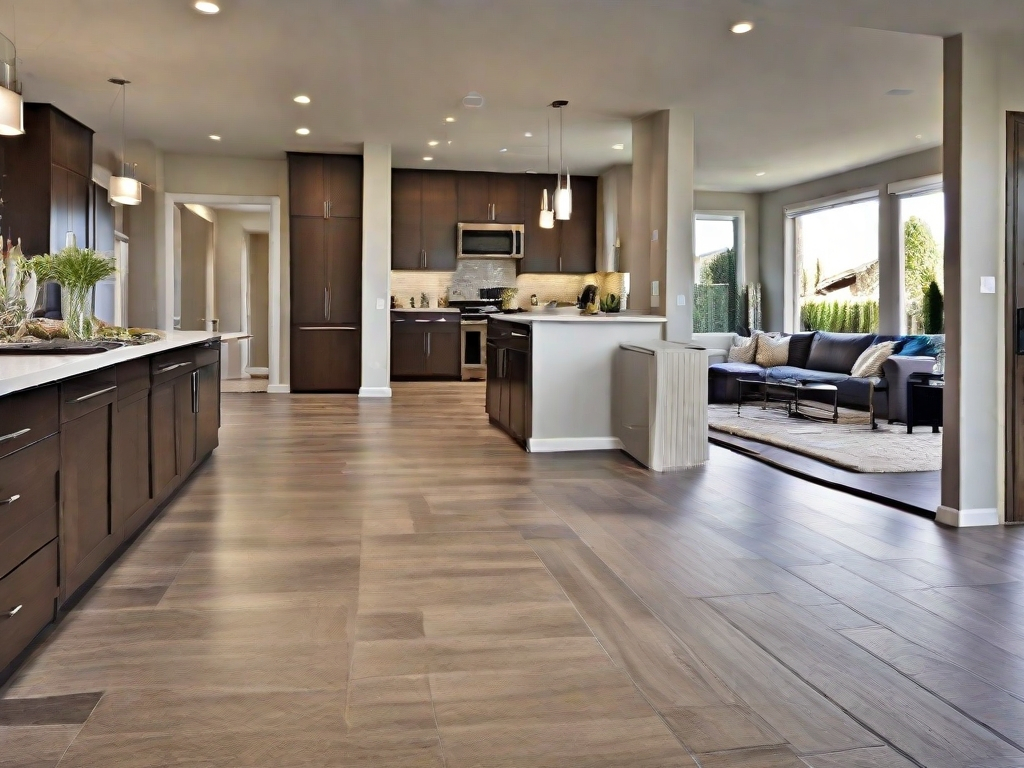
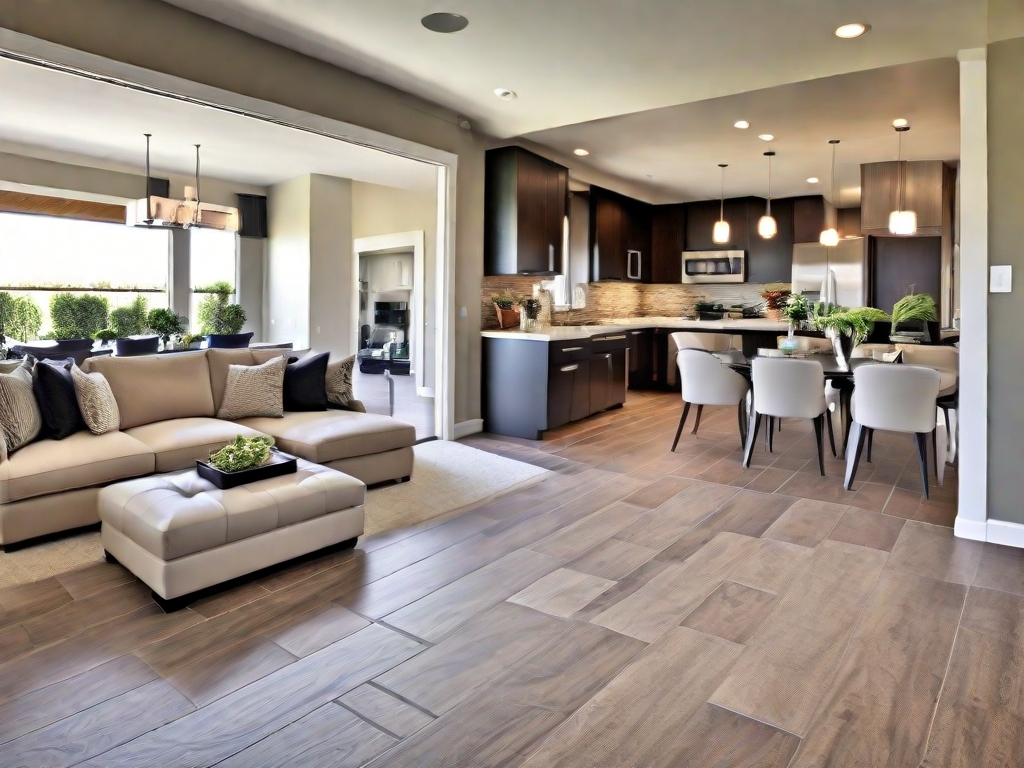
Open floor plans are popular in modern homes, with kitchens blending seamlessly into adjoining family rooms. But this continuity of space presents a flooring challenge. Kitchens usually have durable, waterproof surfaces like tile or vinyl plank. Family rooms tend to be carpeted or have wood laminate for warmth and comfort.
Transitioning between these contrasting flooring materials takes careful planning and execution. The goal is an imperceptible flow between rooms. With the right techniques, you can connect any two spaces with a flawless flooring transition.
Choose Complementary Flooring Materials
The first step is selecting flooring options that work together aesthetically across rooms. Consider the color palette, styles, and textures that will unify the look. Get creative with combinations like pairing grey vinyl plank in the kitchen with wide-plank laminate in a lighter whitewashed oak hue for the family room.

Material practicality is also important. For kitchens, hardier surfaces like luxury vinyl tile or large porcelain tiles withstand heavy traffic and possible spills. In family rooms, choices like laminate flooring or engineered hardwood offer affordable warmth and comfort underfoot.
Vinyl Plank Flooring
If choosing vinyl plank flooring for the kitchen, look for waterproof engineered cores of rigid plastic or PVC. The attached pads minimize sound transfer. Laying vinyl planks in a floating floor formation allows natural contraction and expansion critical for transitions.
New print layer technology creates stunningly realistic wood and stone looks. Combining vinyl plank flooring with laminate or hardwood avoids a jarring aesthetic clash between rooms.
Laminate Flooring
Laminate offers the beauty of real wood floors for less. The photographic layer on top resists scratches, stains, and moisture. Just ensure proper underlayment and expansion gaps to prevent buckling or damage.
Opt for laminates with attached padding for sound dampening. The planks’ tongue-and-groove locking system enables easy DIY installation. Floating laminate floors work perfectly for transitions between rooms.
Tile Flooring
Tile is an elegant and durable choice for kitchens. But grout lines could impede a smooth transition to adjoining floors. Selecting large format tiles with thin grout spacing minimizes the indentations.
Porcelain and ceramic tiles have excellent indentation resistance for heavy appliances and furniture. Just beware that dropped objects like pots or glassware are prone to breaking. And tile can be harder underfoot than softer vinyl or laminate options.
Allow Proper Expansion Gaps
Whether using floating or glue-down installation, leave adequate expansion space between flooring and adjacent walls or fixtures. Hard surfaces expand and contract with temperature and humidity changes. Restricting this movement can cause damage like buckling or gapping.
Follow the flooring manufacturer’s guidance, but generally leave 1/4-inch perimeter gaps. Take special care around potential moisture sources like dishwashers, sinks, and exterior doors.

Perimeter Isolation Gap
The perimeter isolation gap surrounds the entire floor, allowing it to expand and settle without distortion. After installing the flooring, insert a backer rod into the gaps, then apply flexible silicone caulk.
Varying the gap width around the room accommodates uneven expansion and contraction in different areas based on sunlight exposure and traffic.
Structural Isolation Gap
Additionally, allow slight gaps around pipes, stairs, and other fixtures protruding from the subfloor. As the flooring shifts, these disruptions could otherwise create points of friction and damage.
Isolation gaps give flooring space to freely flex and float. Just take care to shim and secure appliances like kitchen islands to prevent movement.
Choose the Right Transition Strip
Once you’ve selected compatible floorings and allowed for expansion, transition strips provide the perfect bridge. Numerous options suit various height differences and flooring combinations.

Materials like wood, metal, vinyl, or rubber all work well. Matching the finish for a coordinated look or intentionally contrasting adds a design element.
Reducer Strip
For joining floors of varying thicknesses, tapered reducer strips provide a beveled edge to eliminate uneven steps. Vinyl plank flooring often pairs well with reducers when meeting thicker carpeted rooms.
Opt for a flexible rubber reducer for the greatest contouring ability. Reducers overcome up to a 1/2-inch height difference between flooring levels.
T-Molding
T-moldings seamlessly blend floors of similar height. The T-shaped piece fits over the adjoining materials, covering the expansion gap. Minimal height variance prevents abrupt edges.
T-moldings suit most vinyl, laminate, or engineered wood installations. Insert pieces on either side of the molding during installation to allow separate floor movement.
Baby Threshold
For transitioning flooring at doorways, small threshold strips provide a low-profile divider. Standard thresholds pose tripping hazards, so baby thresholds maintain accessible continuity.
The compact size also minimizes the boldness of the transition line. Coordinate the finish and color to downplay thresholds at interior doorways.
Prep the Subfloors Properly
A smooth, even subfloor ensures flooring lays flat across rooms. Check for loose boards, holes, and debris before installing over old flooring. Level any imperfections.
For concrete subfloors, etch and seal the slab before applying self-leveling compound to low areas. Eliminate raised points on plywood subfloors by sanding high spots.

Install Proper Underlayment
Underlayment is essential, especially for floating floors. The cushioning smooths minor subfloor defects while adding insulation and sound absorption.
Use moisture barrier underlayment below wood or laminate to prevent warping or damage from condensation. Follow flooring manufacturer instructions for recommended underlayment.
Glue Down vs Floating Floors
Glue down installation creates an immobile, tightly bonded floor. But this leaves no room for the contraction and expansion critical at room transitions.
Floating floors are loosely set atop underlayment without adhesive. This allows the planks to move freely and settle seasonally.
Floating vinyl plank, laminate, or engineered hardwood better accommodate transitional spaces. Just ensure perimeter gaps release any tension buildup.
Stagger Planks Properly
Create a visual flow between rooms by avoiding obvious seams. Stagger adjoining flooring rows in an irregular brickwork pattern. Vary end-joint locations to break up linear lines.
Maintain plank direction across the transition for coherence. The staggered ends and shared direction make seams less distracting.
With deliberate flooring choices and proper installation techniques, you can effortlessly connect kitchens and family rooms. Attractive combinations, adequate underlayment, and sizable expansion gaps prevent awkward transitions.
Flooring should always function first as a durable, easy-care surface. But taking steps to perfect the aesthetic transition between rooms makes an open floor plan sing.