10 Clever Backyard Covered Outdoor Kitchen Ideas for Outdoor Living
A covered outdoor kitchen extends your home’s living space and brings cooking and dining into the fresh air. By constructing an overhead shelter above your outdoor cooking area, you can take advantage of being outdoors while having protection from sun, rain and other elements. An outdoor kitchen designed with both style and functionality in mind creates an inviting space for effortlessly entertaining, relaxing and connecting.
With thoughtful planning, you can build the ideal covered cooking and gathering hub just steps from your home. This guide will explore the benefits of a covered outdoor kitchen and provide tips for designing an outdoor living oasis tailored to your needs. We’ll cover the essential features to incorporate, materials to choose, and optional extras that elevate an outdoor cooking space. Follow along as we walk through the considerations and steps for constructing your dream covered outdoor sanctuary.
Benefits of a Covered Outdoor Kitchen
Constructing an outdoor kitchen with overhead coverage provides numerous advantages that amplify outdoor living. A covered cooking and dining space becomes an extension of your home, expanding your square footage and opportunities for entertaining.

More Living Space
Adding a covered outdoor kitchen essentially increases your home’s livable footprint. By designing an outdoor room for cooking, dining, and gathering just steps from your backdoor, you gain additional square footage to utilize. Entertaining guests is easier when you have an entire outdoor living area outfitted with kitchen necessities like seating, prep space, storage, and appliances. The shelter of an overhead structure transforms a basic grill zone into a fully-functional outdoor room for enjoying beautiful days and evenings.
Ability to Cook, Dine, and Entertain Outdoors
A covered outdoor kitchen allows you to take advantage of cooking, eating, and hosting others outside. Without worrying about getting rained on or squinting in harsh sunlight, you can prep meals and relax in your outdoor oasis. The protection of a roof with proper ventilation lets you comfortably fire up the grill, cook full meals, and wash dishes regardless of the weather. You can dine al fresco and linger at the table with dessert and drinks after dinner. Entertaining is also easier with dedicated zones for beverages, appetizers, seating, and mingling.
Protection from Weather Elements
Constructing an overhead shelter above your outdoor cooking area protects you from pesky weather elements like rain, sun glare, wind, and temperature extremes. A properly designed roof keeps rainfall off your grill, countertops, and furnishings. Extended shade shields you from harsh UV rays and glare while prepping food and enjoying meals outside. Strategically placed screens, curtains, or landscaping can block bothersome winds. Heaters, fans, and materials suited to your climate further allow you to use the space year-round in comfort.
Design Considerations
Constructing a functional and visually appealing covered outdoor kitchen requires careful planning and design decisions. Layout, ventilation, lighting, materials, and workspace configuration profoundly impact the usability and enjoyment of the space.

Layout That Suits Your Space
The layout of your outdoor kitchen should complement the shape and flow of your backyard while accommodating your needs. Consider existing trees, slopes, and pathways when positioning the structure. Allow enough room around appliances and furniture for multiple people to cook, serve, and circulate. Optimize workflow by grouping the grill, sink, prep space, storage, and serving areas logically.

For smaller yards, a galley or L-shaped layout may fit best, while larger spaces can accommodate a U-shaped or island design. Take measurements and create a rough outline with chalk or tape to visualize layout options. Ensure there is adequate space for walkways, entrances, and traffic flow.
Adequate Ventilation
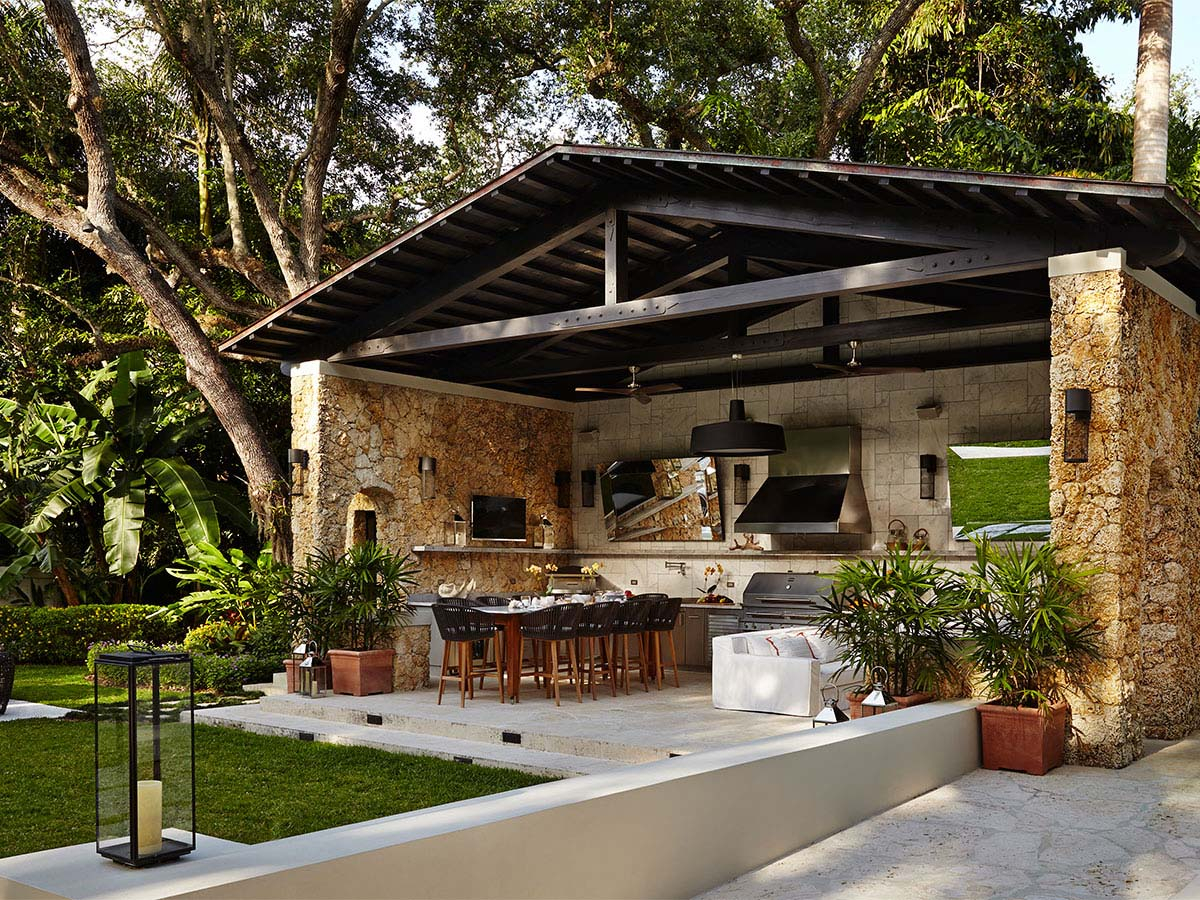
Proper ventilation is crucial for an outdoor kitchen to function well and prevent the buildup of smoke, grease, moisture, and odors. Incorporate open sides, overhead vents, exhaust fans, and skylights into the structural design. The roofing materials should have sufficient overhangs and pitch to encourage air circulation.
Strategically place screens that allow breezes and cross ventilation while blocking insects. Leave gaps between ceiling beams, rafters, or slats to facilitate airflow. Install commercial kitchen hoods over appliances that produce heat, steam, or smoke.
Lighting for Evening Use
To extend the enjoyment of your covered outdoor kitchen into the evening, incorporate lighting into the design. Ambient options like pendant lights, post lanterns, and strings of Edison bulbs illuminate the full space. Task lighting at the grill, sink, and countertops aids food preparation.

Choose energy-efficient LED bulbs that provide bright, natural-hued illumination. Dimmer switches allow you to control the mood. Opt for fixtures with IP ratings to withstand moisture. Position lights carefully to minimize glare, shadows, and eye strain.
Climate-Appropriate Materials
Selecting construction materials suited to your climate will maximize the lifespans and weather resistance of your outdoor kitchen. Heat, humidity, rainfall, and UV exposure all impact material performance.
Use moisture-resistant woods like cedar and tropical hardwoods in damp regions, and untreated pine or fir in arid climates. Choose weather-resistant exterior paints and stains. For roofing, consider metal, tile, slate, or asphalt shingles depending on snow loads and wind.

Research material specs like insulation value, reflectivity, waterproofing, and flame retardance. Stainless steel and stone hold up well to outdoor conditions. Ensure adhesives, fasteners, and hardware are corrosion-resistant.
Functional Workspace

Like an indoor kitchen, the outdoor cooking area should offer ample, uncluttered workspace to prep ingredients and plate dishes. Include landing areas on both sides of appliances for setting down food and utensils.
Countertops should provide plenty of workspace at a comfortable height; the standard is 36 inches. Durable, non-porous surfaces like granite, marble, and stainless steel are easy to clean. Incorporate storage like drawers, cabinets, and shelves for essential cooking tools and pantry items.
Position appliances in the optimal order of workflow from grill to sink to serving area. Allow a minimum of 32-36 inches between countertops and islands. Open shelves offer easy access to everyday items while closed storage conceals less-used gear.
Must-Have Features
A fully-equipped covered outdoor kitchen has certain must-have features that transform a simple grill zone into a welcoming space for effortless al fresco cooking and dining. Essential elements like ample counters, storage, a sink, seating, and appliances make the outdoor area an extension of your indoor kitchen.

One of the first key pieces is a high-quality grill or cooktop as the primary cooking appliance. Look for durable construction from stainless steel or cast iron suited to outdoor use. Opt for a spacious grill with multiple burners. Consider handy features like side tables and lighting.
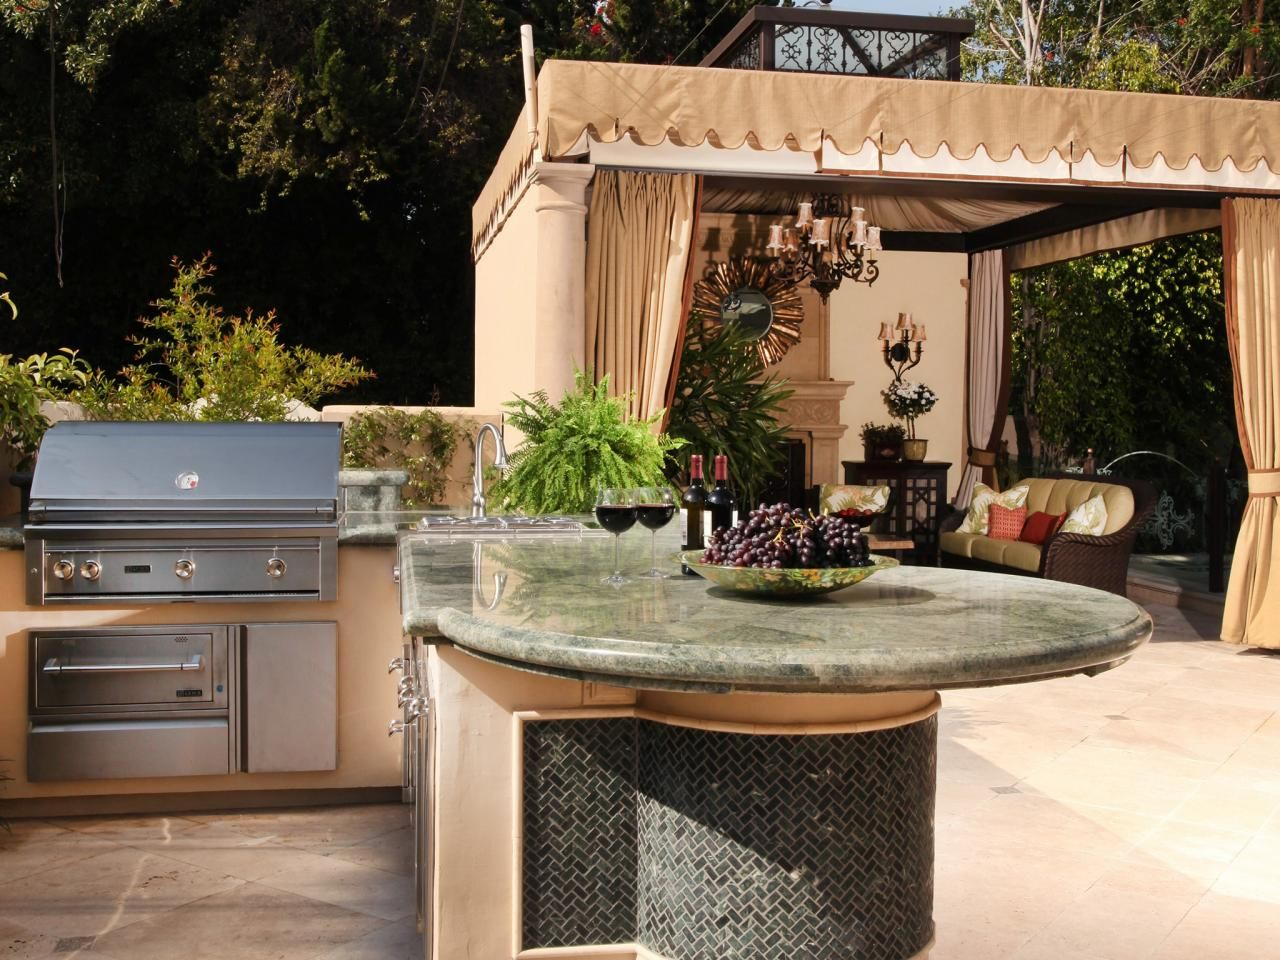
You’ll also need generous preparation space to comfortably prep ingredients, plate dishes, and stage-cooked food. Include roomy countertops at a standard 36-inch height beside the grill and sink. Durable and water-resistant countertop materials like granite, stone, stainless steel, and marine-grade wood are ideal choices.
Don’t forget storage to corral essential grilling tools, serve ware, pantry items, and condiments. A combination of open shelves closed cabinets, and drawers keeps everything organized yet easily accessible. Storage should be conveniently located within arm’s reach of the cooking and serving zones.
A sink with running water allows you to easily wash ingredients, hands, dishes, and tools. Choose a sink sized to fit large platters and pots. Stylish integrated sinks save space or opt for a freestanding utility sink. Ensure plumbing is properly installed for drainage.

Comfortable seating invites you to relax and dine with family and friends. Arrange chairs, benches, and sofas around a dining table, standalone high-top table, or lower cocktail table. Upholstered pieces should have faded and moisture-resistant fabric.
Ambient and task lighting enables the use of the outdoor kitchen into the night. Pendant lights, sconces, and lanterns create a welcoming glow. Under-cabinet lighting illuminates the counters. Carefully position fixtures to provide brightness without glare.
Optional built-in appliances like a mini fridge, wine cooler, ice maker, and dishwasher further mirror indoor amenities. Look for energy efficient models designed for outdoor use. Carefully measure appliance cutouts during construction.
Optional Additions
While not strictly essential, certain optional features can elevate your covered outdoor kitchen into an ultra-luxurious entertainment oasis. Creative touches like a fireplace, beverage center, and A/V system take the space from purely functional to an utterly inviting backyard hangout.

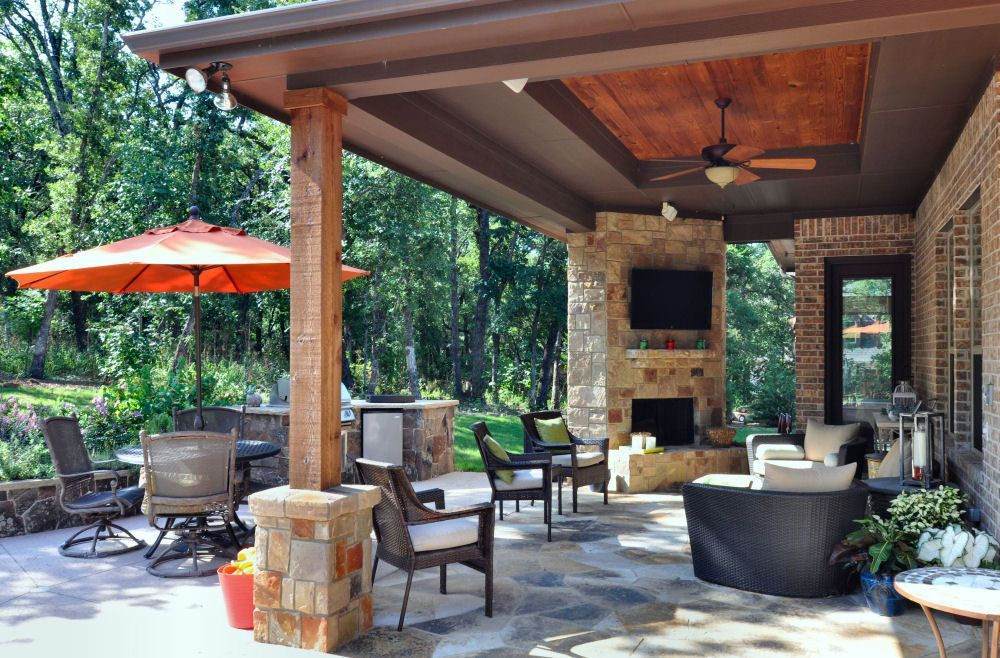
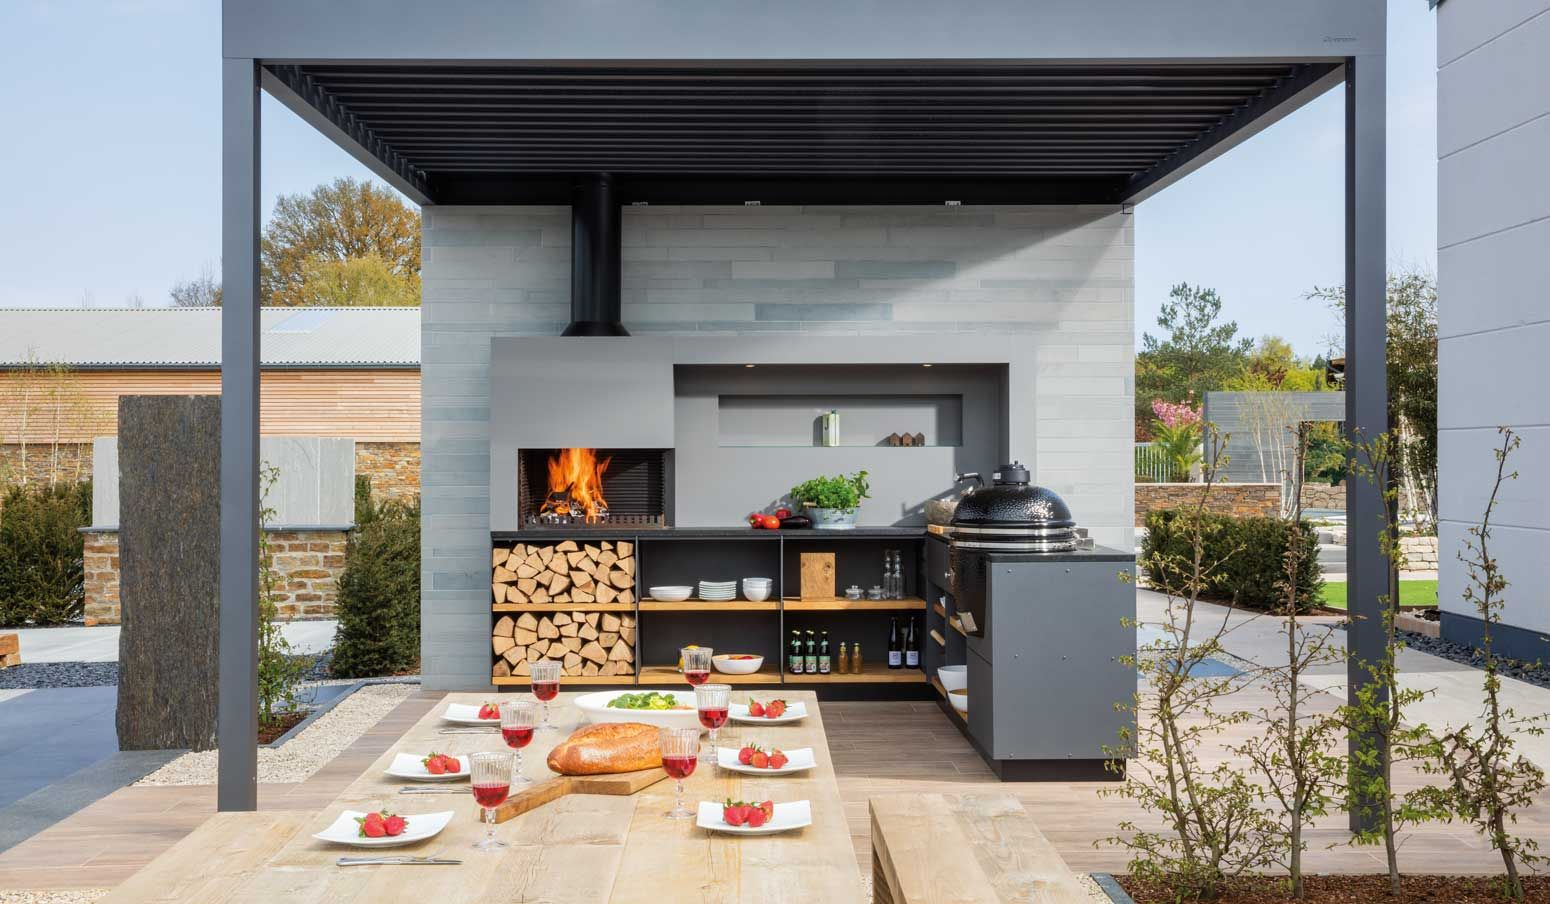
- A flickering fireplace or firepit provides ambiance, warmth, and an enticing focal point for evening gatherings. Choose a sleek built-in fireplace integrated into the kitchen design or a portable standalone firepit that can be moved around the patio.
- For entertaining, add a dedicated beverage center complete with a wine fridge, drink cooler, glassware storage, and serving area. This self-contained bar hub keeps drinks chilled and essential mixology supplies fully stocked.
- An herb garden lends fresh flavors and aromas right at your fingertips while cooking. Plant oregano, basil, thyme, rosemary and other herbs in containers nestled into the kitchen design.
- Define different zones like dining, lounging, and congregating with area rugs in weather-resistant materials like polypropylene or sisal. Rugs anchor furnishings and add visual interest.
- Stylish pendant lighting over islands and bars creates an ambient glow after dark. String lights add whimsical decoration overhead or dangling from beams. Landscape lighting illuminates pathways and design features.
- Integrate an audio system to provide background music or easily take the party outside when entertaining. Install hidden speakers and wiring during construction. Control speakers conveniently from your phone.
- Heating and cooling elements like wall-mounted heat lamps, ceiling fans, and strategically placed shade structures allow you to use the kitchen year-round in comfort.
- For entertainment, mount a weatherproof TV to watch movies, the big game, or display streaming playlists or recipes while you cook and dine together. Hide unsightly cords and hardware.
Building Your Covered Outdoor Kitchen
Constructing your own covered outdoor kitchen is an immensely rewarding DIY project that allows you to customize the space to your needs. With proper planning, permits, and step-by-step assembly, your dream outdoor cooking oasis can become a reality.

Hiring a contractor is recommended if you want to fully customize the kitchen design and don’t have advanced DIY skills. Contractors handle securing permits, foundational work, framing, roofing, utilities, and installing finishes. This requires a sizeable budget but saves you time and effort while ensuring professional results.
For DIYers on a budget, modular ready-to-assemble outdoor kitchen kits provide an affordable option. These systems have prefabricated cabinets, counters, appliances, and roofing that bolt together on site over a level foundation. You’ll still need to arrange the installation of electricity, lighting, and plumbing. This is a great middle ground between custom-built and basic DIY.
Whether using a contractor or DIY, be sure to get the required permits for construction, electrical, plumbing, and gas lines from your local building department. Permits ensure the kitchen meets code specifications for safety.
Now it’s time to tackle the structural elements. For the roof, choose between gabled, flat, or pergola frames based on your climate and aesthetic preferences. Pergolas offer openness for ventilation while gabled roofs provide greater weather protection.
Cover the roof frame with your preferred materials such as wood, composite sheets, metal panels, asphalt shingles, or tiles. Pick decking or patio materials like stone, concrete, or composite boards to form the flooring.
Once the structure is watertight, begin installing the cabinetry, appliances, fixtures, and finishes like countertops and backsplashes that transform it into a functioning kitchen. Carefully position elements according to your optimal workflow.
Finally, add those all-important personal touches – pendant lights, bar stools, rugs, plants, utensils, and decor items that make the space your own. Place a final coat of exterior paint or stain. Celebrate your new covered outdoor kitchen oasis!